Dude! Take Your Turn!
A Gaming Life
Combat Commander – After Action Report – Scenario #41 – The Commissar House
What’s this?
A Combat Commander ladder after action report that’s not on the last day of the month?
Alert the media!
Yes, it’s November and it’s time for another adventure from the Combat Commander ladder, the chance to have a monthly play of one of my favourite games.
The ladder is run by the magnanimous Patrick Pence, of Patrick’s Tactics & Tutorials fame (you gotta go check that channel out!).
This month’s game is from the Stalingrad battle pack and unlike last year’s outing, actually takes place in Stalingrad and thus has the Stalingrad rules!
That came back to bite me a couple of times.
I’ve been on a losing streak the last few months.
Would I be able to end it?
This month’s opponent was new, Greg L. He mentioned that he’s played the game a few times over the years but he’s not an expert. I’m not sure if he’s new to the ladder or not.
Anyway, Scenario #41, The Commisar House, has the Soviets (brown – Me) facing off against a massive German (grey – Greg) assault trying to take an impregnable stronghold.
I say impregnable because so far nobody’s been able to actually take it.

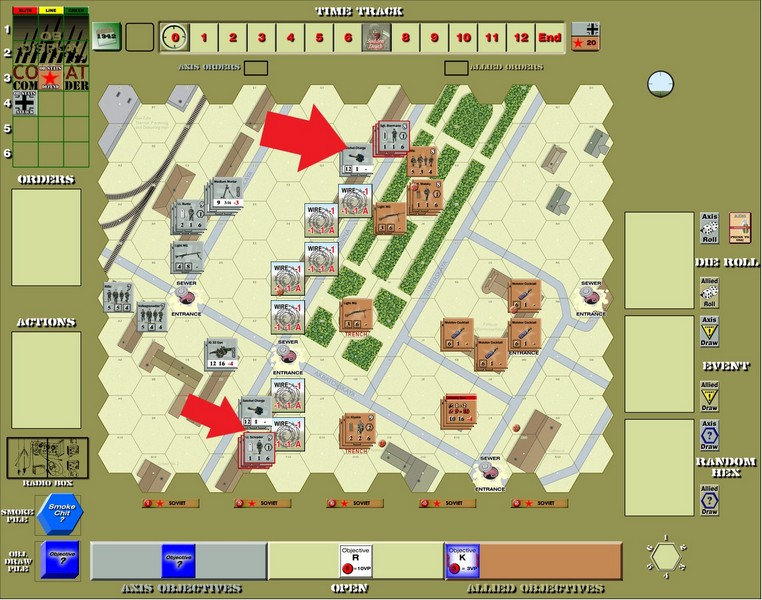
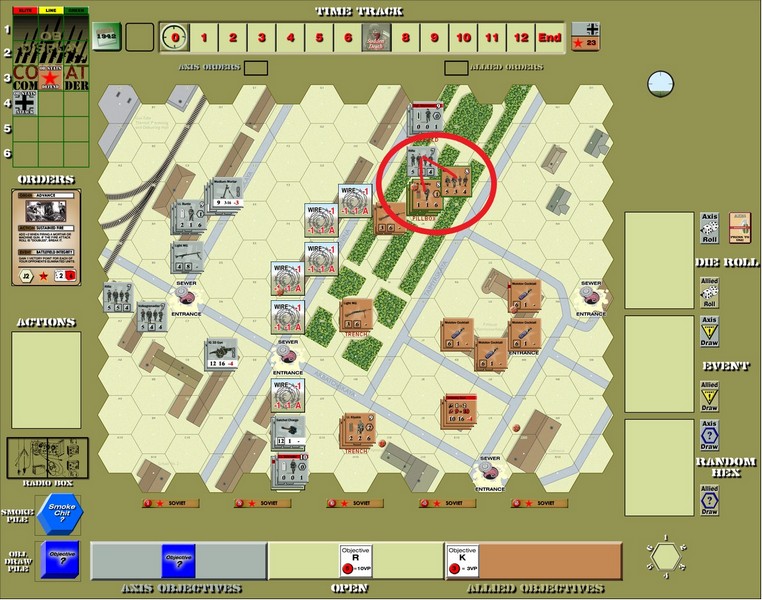
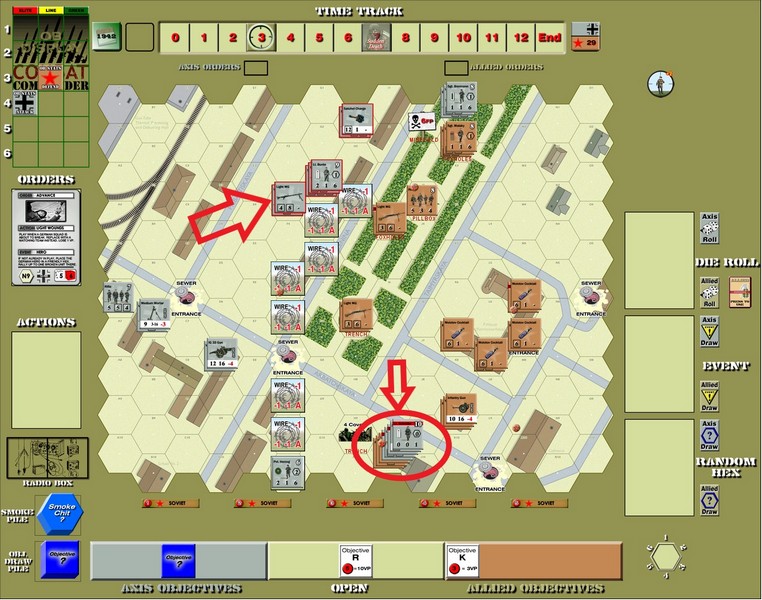
Here’s the setup.
The red-circled building is the Commisar House. It’s worth a massive 20-point swing (it’s worth 10 points).
The trick is, though, by scenario special rule the Germans can only enter any hex in the house through the front door or through a rubble hex, essentially meaning that they have to rubble the entire building (or eliminate all Soviet units and just enter one hex).
It seems that the house is kind of bait that the Germans maybe should try to ignore, instead either going for a Surrender victory (killing 10 Soviet units) or exiting a bunch of units off the edge of the map.
Another scenario special rule (which I kept forgetting about) is that if a Soviet squad in the building would break, they can break a support weapon they are holding instead.
Hence all of the molotov cocktails in there!
A special Stalingrad rule is that satchel charges or infantry guns can possibly rubble a building hex with firepower. For satchel charges, that’s if they roll an 8 on their firepower roll (which would give 20 firepower barring any other modifiers).
So with that setup, what do you think happened?
Let’s take a look.
The Germans started out with that classic attacker’s move…discarding!
The Russians started out by firing their Infantry Gun at the German gun…and it promptly broke.
The Germans then started moving, with Biermann taking the north flank and Schrader taking the south flank.
I had drawn Objective 3 being worth 3 points as my secret objective, which is in the center of the map. I had already set up Maisky and a few squads there to help defend against a northern advance anyway.
The Germans also fired their Infantry Gun but missed (that actually became a running joke).
Some ineffective German mortar fire preceded another Schrader move…

and they stumbled into Wire!
They also got fired at. Open ground in Wire is not a good place.
Schrader broke as well as the satchel charge squad who also voluntarily moved into Wire (the picture above is from before he moved).
The German Infantry Gun missed again.
Schrader and the squad quickly rallied, and in doing so Greg drew a Walking Wounded event!
That would be the first of three, but this time nobody was dead yet.
That could become important later.
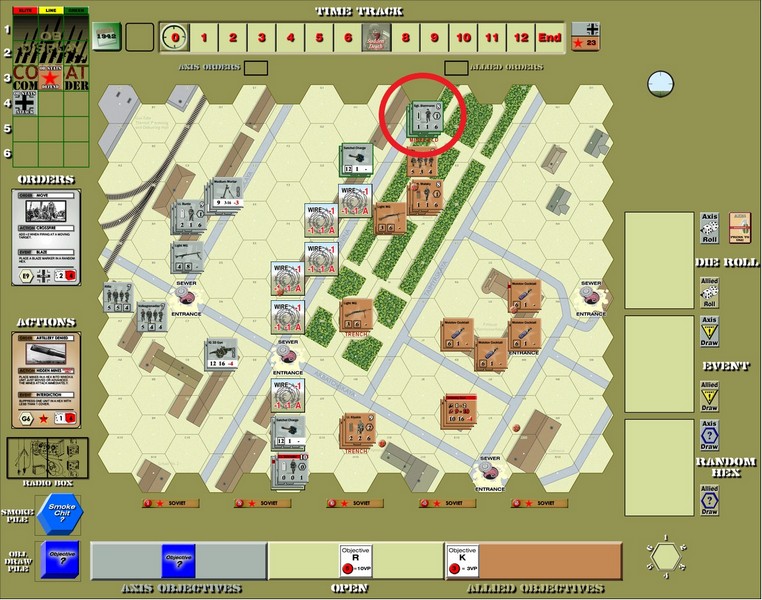
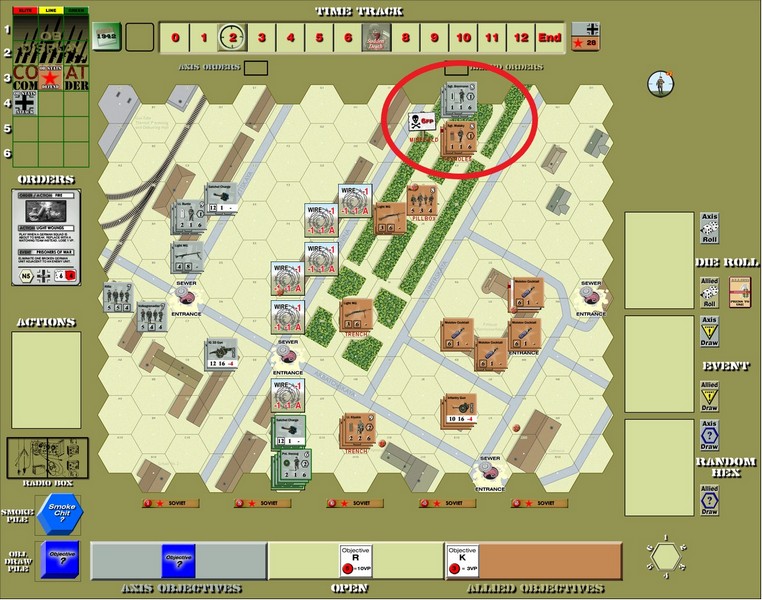
Maisky’s men tried to fire at the Germans in the north, resulting in a German sniper.
I only note this for the sniper effect (the right circle).
That squad broke twice because of snipers and had trouble rallying even with needing an 8 to rally!
(Of course I kept forgetting that I could have broken the molotov cocktail instead of the squad, but oh well…).
Snipers were actually quite prolific in this game, with many broken units, including the German mortar team once which then also died due to a later sniper.
More withering Soviet fire in the south against Schrader and his men in the Wire resulted in both breaking.
Biermann and his men tried an end around on the north side, to get by the Russians, and stumbled into a minefield!
Biermann ended up breaking (I guess he doesn’t like loud explosions right next to him).
The squad with the satchel charge, however, rushed forward toward Maisky and tried to throw a satchel charge at them!
They seem to have missed the fact that the house Maisky was in was actually a pillbox.
Maisky’s men passed their morale checks with no problem.
Still, Maisky was a bit pissed off by that so he and all of his men jumped on the squad that threw the charge.
(Stalingrad rules are like Combat Commander: Pacific, where you can overstack and just get a cover penalty…which will again become important later).
A massive horde of Soviets overwhelmed the poor squad and it died.
The Germans didn’t go down without a fight, though! They had two Ambush cards, breaking Maisky and one of the squads.
Maisky and friends quickly rallied, thankfully.
Biermann quickly advanced out of the minefield with only his squad being suppressed and no other bad effects.
It did result in Private Herzog entering the battle down in Schrader’s hex!
Maisky pursued Biermann, Biermann rallied, the Soviet squad broke, all over a short time period
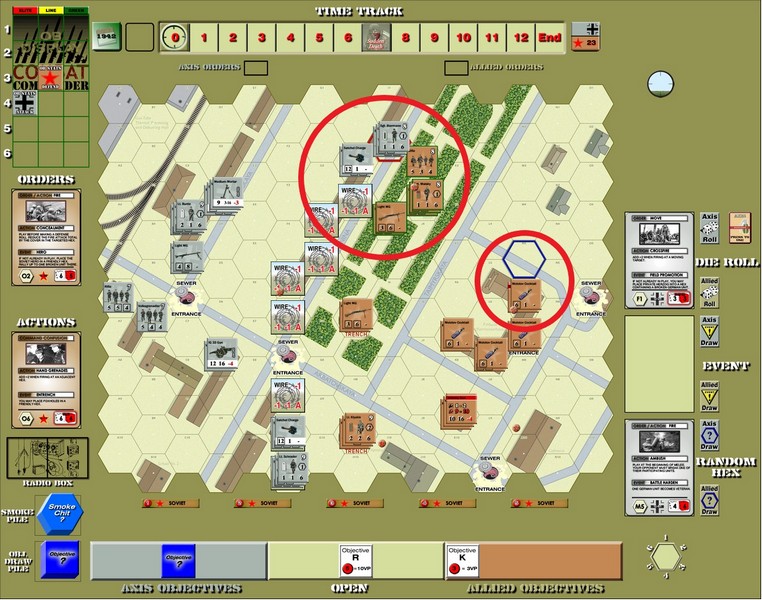
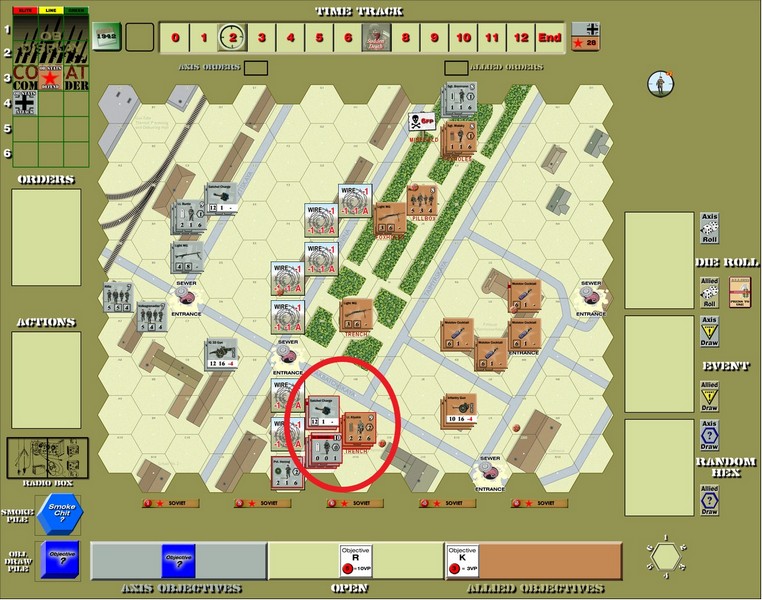
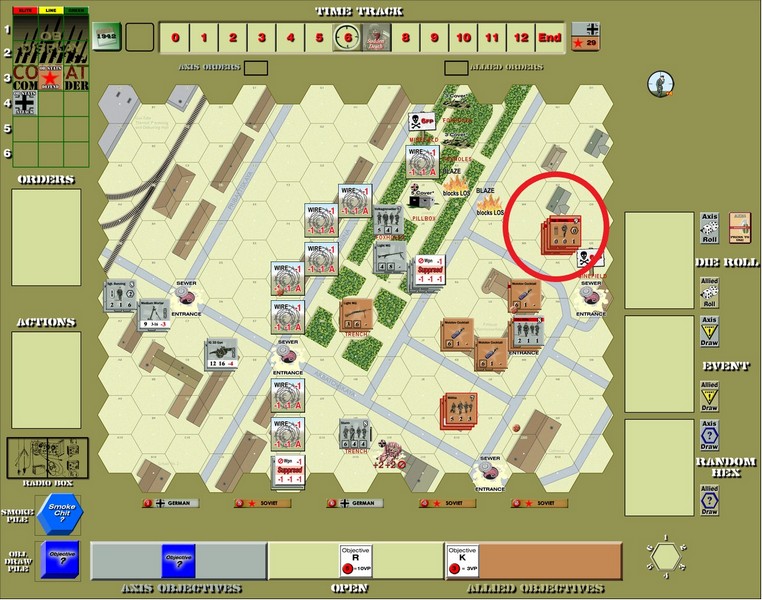
Here’s where they are at this point.
I think I had hopes of jumping into Biermann’s hex and ending it, but I couldn’t draw the Advance card I needed.
Until later, anyway.
Schrader and his men in the south finally moved off the wire, even putting some smoke down, but it did result in Schrader and one of the squads breaking with withering fire from the Soviets they’re right next too.
Of course Greg had a Recover card ready, but at least he couldn’t Assault Fire with that satchel charge!
Klyukin once again fired on the Sturm squad with the satchel charge and while they once again broke, a squad back behind German lines discovered the mortar that ended up getting dropped earlier in the game! (A Scrounge event).
Greg then did something I wasn’t totally expecting: he advanced Schrader, his men, and the broken squad all into Klyukin’s hex!
He also rallied the broken squad on his turn, so it was going to be a massive melee.
Before the melee resolved, the German Infantry Gun fired again and broke down. I don’t know what that crew was doing but it wasn’t actually useful.
I had an Advance card so quickly advanced out of that melee. No way I was going up against that (even with my one Ambush, the odds were probably going to be 14-7, and that’s assuming he had no Ambushes!)

After that, the Soviet Infantry Gun opened up to powerful effect, breaking Schrader and both squads, though a German sniper broke a Soviet squad in the woods/park area.
Later, Lt. Bunte and his men started their assault toward the center.
They would become a lot more prominent than Biemann.
And Schrader with all of his men, even though they were all broken, jumped on Klyukin again!
Thus came my first huge mistake of the game.
I could have sworn I had an Ambush card in my hand! I looked at my hand, snickered to myself that all of these Germans were broken and attacking me and how fun this would be.
I took my turn (remember, Soviets take their turn before any melees) and even though I had a Move card, I kept it and just played a Recover to see if I could recover my broken squads (which, funnily enough, did rally the Commissar House broken squad but that rally attempt drew a Cower event that suppressed nearly half of my force…thank God this wasn’t Pacific!)
I even played the Move card just to waste it, moving somebody else.
But back to the melee…I thought I had it won!
I wasn’t lucky enough to actually draw an Ambush card either.
Of course, Greg wouldn’t have done that without some Ambush cards. He had two, making the German firepower advantage 6-2.
Not only was my best leader and a great squad annihilated, the German melee roll resulted in reinforcements!
Just to add to my misery.
Greg played “No Quarter” to give himself an extra VP as well.
On the German turn, Bunte moved forward, getting fired at in the process.
The resulting German morale check resulted in another Walking Wounded event!

And the squad Greg chose appeared in a fun spot.
Rather than placing the squad in an adjacent hex, he plopped it right down on this unbroken squad.
That took guts!
I made a minor error after that, firing the Infantry Gun at Schrader’s hex, but first I played a Rout (just to see if I could get the newly-appeared squad to rout out into my fire) and one of Schrader’s squads actually did move.
Hence, my devastating fire where I actually rubbled the hex and killed the remainder wasn’t quite as good.
The ensuing melee also made sure that the Walking Wounded squad didn’t last very long.
I finally had the Hidden Unit card available when Greg discarded, so a new SMG squad appeared!

And promptly joined Maisky in taking out Biemann and his men.
One Ambush card and a 25-total firepower after roll later, Biemann went to meet his maker.
Bunte decided to assault the Objective 3 pillbox while Maisky was busy and stumbled into some wire. A second Soviet squad moved into the Pillbox to avoid any more “overstacked melee” shenanigans by being overstacked themselves.
Of course, Greg did it anyway.

This time I didn’t make the same mistake and Advanced out of there. I gave up the objective points and the pillbox, but I knew I was dead otherwise.
Maisky also moved around to the back behind the woods, with his overstacked units (that will become important later…I do say that a lot, don’t I?).
The Germans followed the Soviets into the foxholes, eliminating both of them.
Bunte then advanced toward the Commissar House, getting broken and then recovering in the process.
The Russian squad in the house that broke earlier from a sniper, but then finally rallied, broke again from a sniper!
Other stuff happened (ineffective fire, a little bit of movement) and then a German morale check brought on a third Walking Wounded event!
And the squad appeared in the same hex!

Once again, Greg decided to drop them into a melee.
Then it was time for my second boneheaded move of the night.
Forgetting that Maisky was overstacked by 2, I decided to keep running him behind the house.
Without a Recover card.

I have no idea.
Needless to say, it did not go well.
So now it was time for Commissar House melee. I felt comfortable, up 5-2 in firepower. No ambushes on either side.
Then promptly rolled a 4.
Greg rolled a 10, meaning one more Russian squad dead!
This is where the special rules of the scenario get weird, though.
The Germans cannot enter any hex of the House except through the front door or rubble.
That means Greg couldn’t advance onto any more of my squads without going outside first.
Weird, eh?
Needless to say, though, Bunte kept up the fire on Maisky and his men as they floundered in the open.
One squad died, which made it so the hex wasn’t overstacked anymore! Which made Maisky’s roll only a suppression rather than death.
Maisky and his remaining squad advanced out of the line of fire, but their trevails weren’t over.
Greg played a Rout card and while the squad stuck around, Maisky routed off the board!
Then the broken squad in the House routed to the edge of the board.
I was three eliminated units away from Surrender and four of those seven eliminated units should not have been gone except for my bad choices.
No Recovering for me and Greg had another Rout!
Two squads in danger of routing off the board.
The squad on the edge didn’t move…and the SMG squad moved one hex!
It was either minefield or overstacked and I chose to be overstacked.
More fire caused an event that let me put foxholes in that hex where those two units were. Suddenly instead of no cover, it was three cover! (Overstacked penalty still applied, of course).
Time also almost saved me as my deck ran out and we had hit the first Sudden Death!
Greg rolled a 4 but quickly gave me the Initiative. He then rolled a 7 but I gave it back to him. He then rolled an 8 so the game continued.
Then Greg had another Rout!
The militia squad routed off the board despite the foxholes (morale of 5 sucks).
The SMG squad stayed, though.
Two dead units away from elimination.
I finally drew a Recover card and promptly rolled a Time trigger on the SMG squad! No rally, but a possible end to the match with my victory.
Greg couldn’t have that, so gave the initiative back to me.
The squad rallied.
There was a lot of jockeying for position, some units breaking and other rallying, but the next major event was a German squad advancing into melee to try and take out the Infantry Gun crew and other Soviet squad.

At this point, we later discovered, Greg didn’t realize how close to elimination I was.
For once I had the cards I needed (I had one Ambush and discarding resulted in me drawing another one). A double Ambush meant there would be no melee roll. I commented afterward that it’s a good thing that didn’t succeed because I would have lost the game.
I could almost see Greg’s eyes light up at that realization (Patrick, who was spectating, mentioned seeing the light bulb).
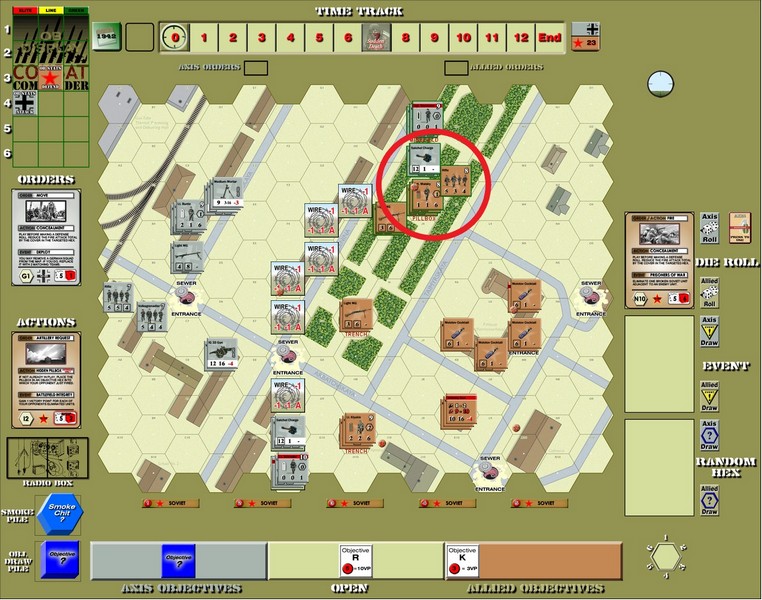
After knowing that, Bunte decided to try and take out the broken squad in the House with some massive firepower.
Thankfully, an earlier blaze had destroyed my pillbox, enabling me to play the pillbox again on that hex!
The broken unit survived due to that and a Concealment card.
After that fire, my deck ran out and Greg did not survive another Sudden Death roll.
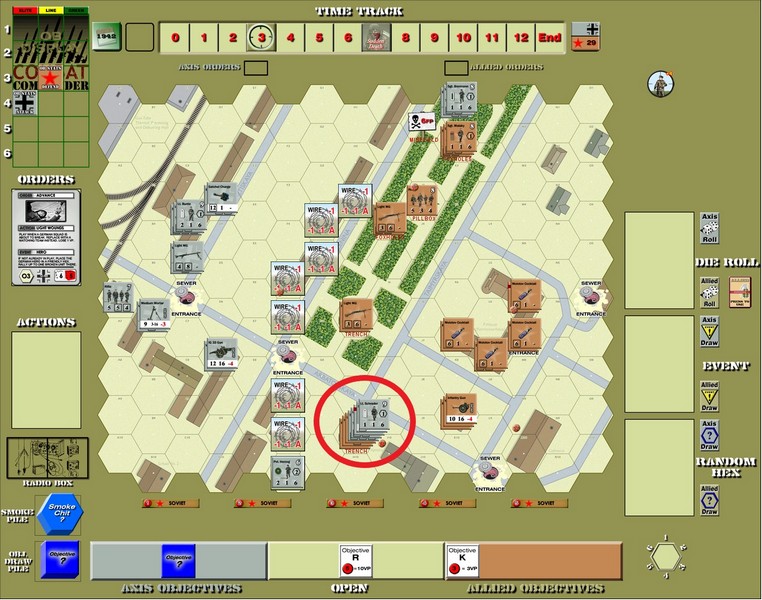
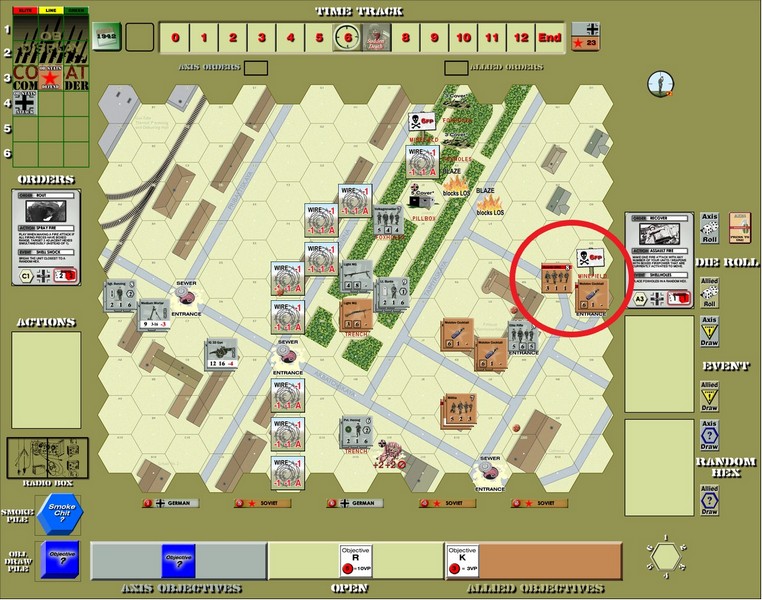
Here’s the final map including revealed objectives.

I ended up winning with 23 VP.
But I was so close to losing.
I was kicking myself mentally for a large part of the last hour, but I managed to stay focused and some good fortune (that foxhole appearing on my broken units on the board edge really helped) kept me alive for a final victory.
Greg was an awesome opponent and we had a lot of fun.
Even more fun were all the spectators watching, including Noel and his always-useful rules help, especially with the Stalingrad rule additions.
I’m not sure what my win-loss record is right now since I started the ladder in May 2021 (I guess I stopped keeping track of it!) but it was nice to end my losing streak, even though I came close to blowing it.
(Edit – 11/25/22) – I just checked and I am now 10-8. So still a winning record! Barely.
Next month’s scenario is from the Normandy Battle Pack.
If I remember correctly, I had a bad month trying to invade the beaches as the British last year.
Let’s hope for better luck!
If you find these AARs interesting, consider joining the Ladder! It’s a great group of guys and one of the most fun games I play.
Stay tuned next month for another exciting tale from the Combat Commander ladder.
Combat Commander Ladder – After Action Reports
To see all of my Ladder After Action Reports since May 2021, go here!

Fantastic reply and really close scenario!
LikeLiked by 1 person
Thank you! I really have to cut down on the stupid mistakes, though…
LikeLiked by 1 person
What a nailbiter… but you came through! Very fitting for playing the Soviets in Stalingrad.
LikeLiked by 1 person
That is fitting, isn’t it? Can I say that I planned it that way? No? Ok, yeah, it just worked out…
LikeLiked by 1 person
Pingback: COMBAT COMMANDER PACIFIC – AFTER ACTION REPORT – SCENARIO M4 – TEMPLETON’S CROSSING – Dude! Take Your Turn!
Pingback: Combat Commander Pacific – After Action Report – Scenario E – West Tank Barrier – Dude! Take Your Turn!
Pingback: Combat Commander Europe – After Action Report – Scenario #30 – Red Skies at Night – Dude! Take Your Turn!
Pingback: Combat Commander Europe – After Action Report – Scenario #14 – At the Crossroads – Dude! Take Your Turn!
Pingback: Combat Commander Europe – After Action Report – Scenario #9 – Rush to Contact – Dude! Take Your Turn!
Pingback: Combat Commander Europe – After Action Report – Scenario #119 – Sky Fall – Dude! Take Your Turn!
Pingback: Combat Commander Europe – After Action Report – Scenario LoM9 – Operation Mercury – Dude! Take Your Turn!
Pingback: Combat Commander Europe – After Action Report – Scenario 90 – The Man Who Would Be King – Dude! Take Your Turn!
Pingback: Combat Commander Europe – After Action Report – Scenario 75 – Sturmgruppe Beton – Dude! Take Your Turn!
Pingback: Combat Commander Europe – After Action Report – Scenario 65 – Road Trip – Dude! Take Your Turn!
Pingback: Combat Commander Europe – After Action Report – Scenario 51 – The Uneasy Wait – Dude! Take Your Turn!
Pingback: Combat Commander Europe – After Action Report – Scenario 35 – Spartakovka Salient – Dude! Take Your Turn!
Pingback: Combat Commander Pacific – After Action Report – Scenario M6 – Breakout – Dude! Take Your Turn!
Pingback: Combat Commander Pacific – After Action Report – Scenario A – Grassy Knoll – Dude! Take Your Turn!
Pingback: Combat Commander – After Action Report – Scenario #34 – Encircled at Hill 30 – Dude! Take Your Turn!
Pingback: Combat Commander – After Action Report – Scenario #23 – No-Man’s Land – Dude! Take Your Turn!
Pingback: Combat Commander – After Action Report – Scenario #112 – Sonnenwende – Dude! Take Your Turn!
Pingback: November Gaming – Dude! Take Your Turn!
Pingback: Combat Commander After Action Report – Scenario #53 – Deeds Not Words – Dude! Take Your Turn!
Pingback: Combat Commander After Action Report – Scenario #67 – The Orient Express – Dude! Take Your Turn!
Pingback: Combat Commander After Action Report – Scenario #82 – Hidden Guns Lash Out – Dude! Take Your Turn!
Pingback: Combat Commander After Action Report – Scenario #91 – The Battle of Trafalgar – Dude! Take Your Turn!
Pingback: Combat Commander After Action Report – Scenario LoM #8 – Codes in the Sunrise – Dude! Take Your Turn!
Pingback: Combat Commander After Action Report – Scenario #105 – La Fiere Counterattack – Dude! Take Your Turn!
Pingback: Combat Commander After Action Report Supplemental – Scenario #28 – No Ingouf Around – Dude! Take Your Turn!
Pingback: Combat Commander After Action Report – Scenario #10 – Commando School – Dude! Take Your Turn!
Pingback: Combat Commander After Action Report Supplemental No. 2 – Scenario #92 – Let England Shake – Dude! Take Your Turn!
Pingback: Combat Commander After Action Report – Scenario #20 – A March in December – Dude! Take Your Turn!
Pingback: Combat Commander After Action Report – Scenario #33 – We Go! – Dude! Take Your Turn!
Pingback: Combat Commander – After Action Report – Scenario L – Slopes of Hell – Dude! Take Your Turn!
Pingback: Combat Commander – After Action Report – Scenario M10 – Bulolo River Bridge – Dude! Take Your Turn!
Pingback: Combat Commander – After Action Report – Scenario 44 – Stalingrad of the North – Dude! Take Your Turn!