Dude! Take Your Turn!
A Gaming Life
Combat Commander – After Action Report – Scenario L – Slopes of Hell
Talk about taking it right to the end!
We weren’t able to play our game until the last week of September, and then the VASSAL server went down and we didn’t finish the game until Friday, September 29th.
But finish we did, and it was glorious.
Oh, I guess I should tell you what I’m talking about.
Welcome to another adventure with the Combat Commander ladder, where I get to play one of my favourite games on a monthly basis with a great group of guys (though it would be nice if some women joined the ladder…hint hint).
The ladder is run by the unparalleled Patrick Pence, he of Patrick’s Tactics & Tutorials fame.
The September scenarios come from Combat Commander: Pacific, the base game, and have the Japanese forces facing off against either US Marines or members of the Commonwealth armies (British, Australian, etc).
This month, my opponent was Jerry W and we were going at each other on the Slopes of Hell in New Guinea 1942.
The Japanese are in Recon posture (not Attack, which means they only get 5 cards) and the ANZACs are in Defense posture, meaning they only get 4 cards but have lots of juicy Defender-only cards to use.
If they can get them.
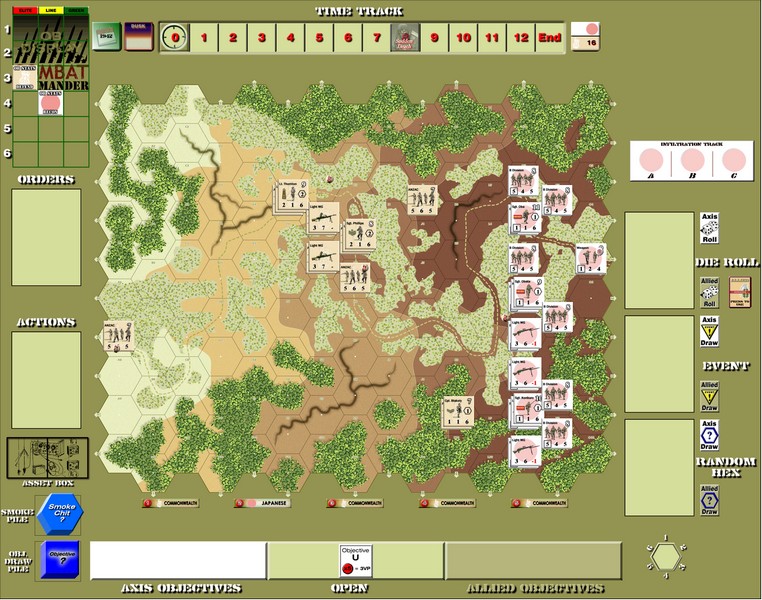
The ANZACs (khaki – Me) set up first, up to 12 hexes deep from the left side of the map.
The Japanese (white – Jerry) set up second, up to 3 hexes deep from the right side of the map.
There are a few interesting special rules for this scenario.
First, the ANZACs have to set up at least one squad on each level of the massive hill.
This means that somebody’s going to be right up in the Japanese faces.
Probably sucks to be them.
The Japanese can put up to 3 squads in Infiltration boxes, which means that with an Infiltration order, they can appear where one of the Japanese Sighting markers are.
The most important one is the Dusk hindrance.
Night is falling, so there is a hindrance equal to the Time track number (initially zero) for any fire that’s further than between adjacent units.
(there are two other special rules, but we never used them so I won’t mention them here).
This was a 4-hour game, so I’m going to summarize it a bit more than I usually do because I don’t want this to be a 5000-word post.
Jerry started out the game with a dearth of Move/Advance cards, so he opened with Firing instead!
He was trying to get rid of Corporal Blakely and the lone squad that was in the way in the south.
That went on for a long time, with Blakely firing back just as much.
Sometimes somebody broke, but no definitive killing was happening here.
The ANZAC sniper was kind of effective, breaking Sgt. Obata, but since he wasn’t in line of sight of any actual ANZAC units, he eventually rallied.
I did end up having to pass the Initiative back to Jerry when Blakely and squad broke and were fired upon again. Jerry rolled high, but his subsequent roll was very low so he gave it back to me. He then rolled low again, so they survived.
Subsequent fire there brought out Japanese reinforcements, and somehow (I didn’t know this), the Japanese Hero is one of the possible reinforcements! So Mifune came out.
He didn’t end up doing much, but he came out!

I did try some Enfilade fire with Sgt Phillips and all of his men and did break a Japanese squad a couple of times, but they were unable to finish them off.
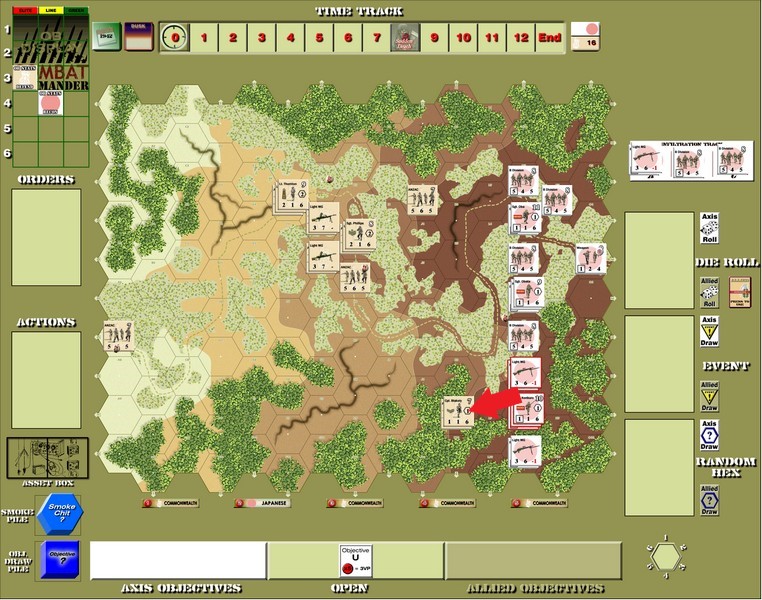
Konburo and his men finally got a Move card to get next to Blakely. I fired at them but sadly to no effect.

Things were getting hairy for them.
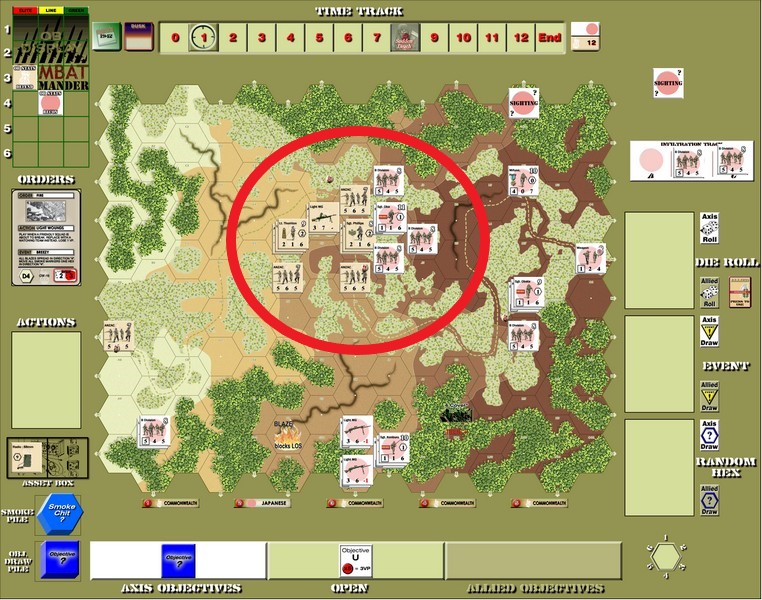
Next turn, the Japanese Advanced into melee, overstacking to make sure there would be no funny business.
Sadly, I did not have an Ambush card, so they all died.
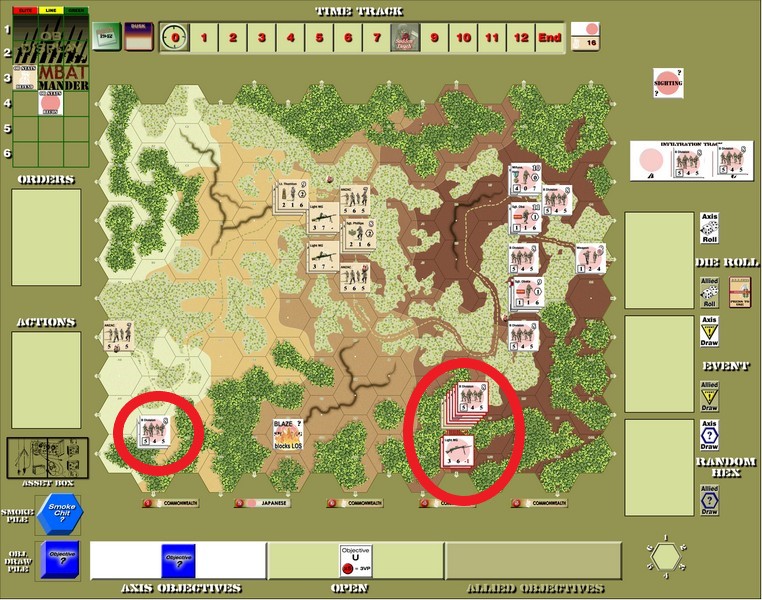
And Jerry infiltrated a squad into my backfield!
Being overstacked, the Japanese were susceptible to some Enfilade fire from down the slopes, but nothing much happened with that.
Then Oba finally started moving, just as I decided to move some men to stop the Japanese in the south.
I quickly moved them back onto the hill, though, knowing that the other ANZACs could easily get overrun.
After the first Time advance, I managed to bring on a radio for artillery!
Then I didn’t draw an Asset Request card for quite a while.
(I would have been able to use it immediately, but Jerry played an Asset Denied making me having to use my Asset Request to bring the radio back online)
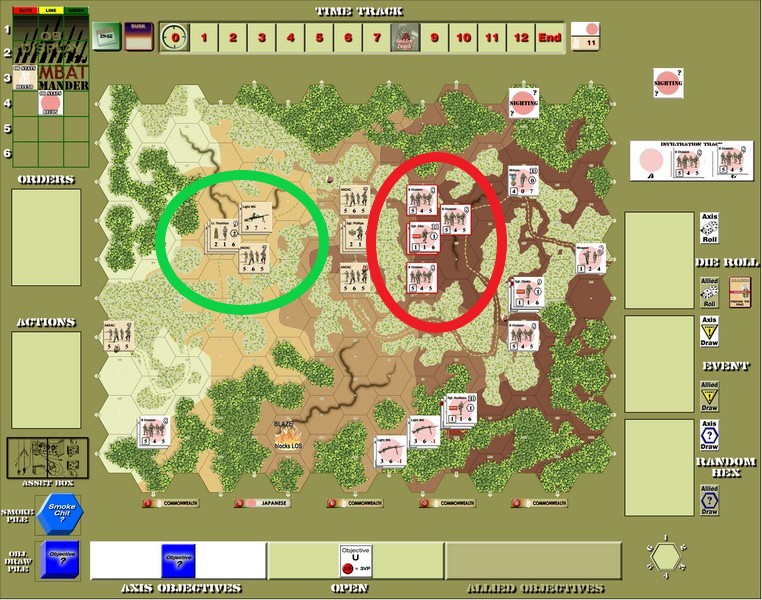
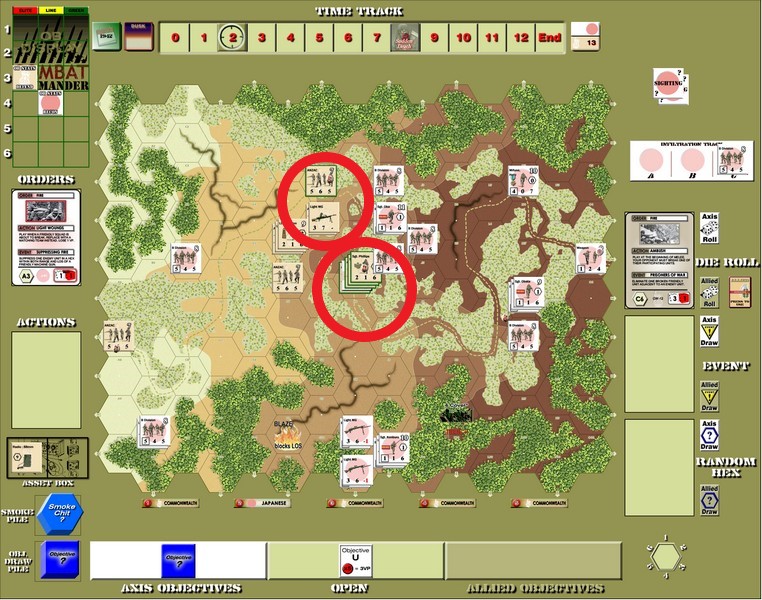
Oba and his men on the heights continued to pour fire down the slopes into the mass of ANZAC troops, while Konburo and his men fumbled their way through the jungle in the south.
Then Oba and his men advanced right next to my guys.
The thing about the Pacific theater for Combat Commander is that you can overstack, and also that the Japanese are merciless in melee. It behooves the Allied side to overstack just to prevent killer melees.
Hell, the Japanese leaders have boxed firepower, meaning they add a bunch to a melee stack!
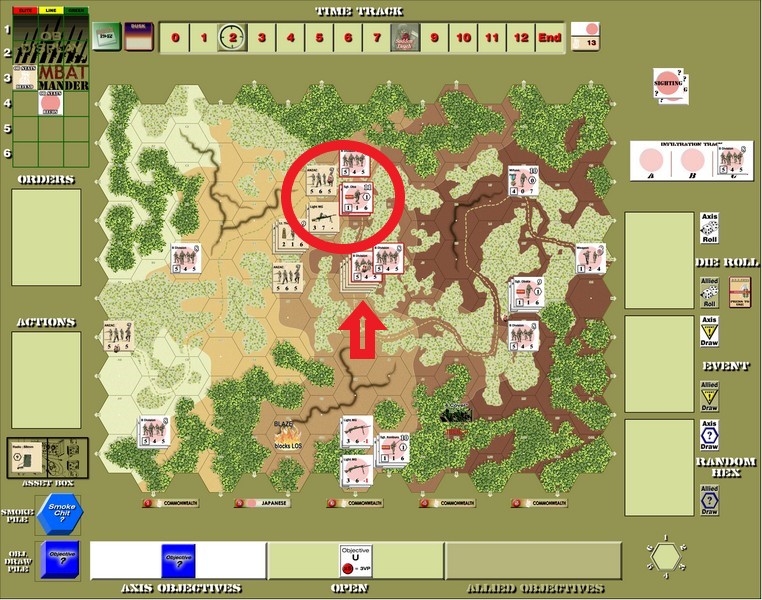
But first, on the ANZAC turn, I spat merciless fire into Oba and his men, breaking him and his squad though none of the other ones.
And Jerry’s deck ran out, bringing us to Time 2!

Jerry infiltrated his second squad into my backfield, which was annoying.
Because of all that melee stuff I mentioned earlier, I quickly got Phillips and his men away from Oba’s stack.
There was no way I was putting up with that one.
Jerry then Advanced Oba and his men, including one squad into Phillips’ hex, which was almost certain doom for him.
They died (putting up a good fight with an Ambush and two Bayonets cards), but the rest of Oba’s men were in good position to really kick some butt.
Phillips started picking at the one squad next to him, breaking him and keeping him broken until a sniper finally finished him off (I had two sniper hits in this game while Jerry had none).
Oba’s men broke the lone ANZAC squad in the north and I couldn’t rally them before they were advanced on and died in melee.

But Oba tricked me and advanced into another squad’s hex!
The top squad ambushed the already broken ANZACs, not even allowing a melee roll.
Oba and his squad Ambushed the other ANZACs and they died as well.
The ANZAC lead was down to one point!
Lt. Thornton was quickly joined by another ANZAC squad to keep that melee from happening again.
Yes, they were overstacked, but that didn’t matter in this case.
Oba instead moved north into the objective to join another Japanese squad, overstacking as well.
Jerry exited both squads that were in my backfield, getting 4 points for them and getting a 1-point VP lead on me.
And that’s when the VASSAL server gave out.
I was hanging on by a thread, four losses away from Surrender and really nothing preventing Jerry from just running off the board with the Dusk hindrance so high now (4).
We continued the game on Friday afternoon.
And things looked so much better!
Jerry continued to try and get his southern squads moving through the jungle but he couldn’t draw any Move cards. And when he did, the jungle keeps them from moving quickly.

With the new day, I also started drawing Asset Requests.
Even with the Dusk hindrance, I was able to land some shells.
Because even when I missed (like drawing a “2” Time Trigger, advancing the clock), I often hit (though not actually with the Time Trigger artillery. That missed entirely.)
Jerry quickly broke my radio with an Asset Denied order, meaning I had to waste a request to re-establish contact.
And then it happened…
I had been holding on to a Hidden Unit action waiting for Jerry to discard. However, he always seemed to be able to do one thing.
But he finally discarded.
And an ANZAC 25 Pound howitzer appeared in the jungle.

And wreaked havoc.
Over the course of a couple of turns, they totally destroyed both of Sgt. Oba’s squads, leaving him alone in the jungle.
Even with the Dusk hindrance, I was hitting! And even with another Time Advance, making the Dusk even darker.
Among all of that firing, a Japanese “Detritus of War” event brought some Wire, smoke and mines…and the mines went right in front of Phillips.

The ANZAC luck was phenomenal.
Sadly, when the howitzer started targeting Obata on the hillside in front of Phillips, they either kept missing or didn’t do any damage.
But that did trigger another Time event!
We were one Time away from Sudden Death and the Japanese hadn’t been able to do much.
The ANZAC VP lead was 6 after killing those squads.
Then the artillery found its range.

A hit and then minor drift that ended up getting both Japanese stacks in its blast radius was just devastating.
Everybody broke.
Jerry was able to revive the leader, but the other two died in another artillery burst that drifted…right onto them.
Sudden Death came and went and there was more game to play.
But nothing much else happened except the Japanese leader in the south running off the board for 2 more points.

Here is the final map.
I won with 2 VP (I just now realized as I was typing this that I should have paid 4 VP to get the radio, so I ended with 2 points, not 6).
Jerry played a great game, but he was stymied by a total lack of Move cards.
Things were even through the first night, but for some reason when we restarted on Friday after the server went down, I could do no wrong as far as dice rolls go.
The only thing that I actually did that didn’t involve the dice cards was getting that 25 pounder out as a Hidden Unit. Even then, rolling the die to actually get a howitzer like that was lucky.
I almost took a squad, but I figured that would just be 2 more points for Jerry as he meleed them to death.
So a gun it was, even with the Dusk hindrance.
My reasoning for that was because while the Dusk would affect the to hit roll, it wouldn’t affect the firepower if I did hit. A 10 firepower (9 because it was going uphill) can be devastating if the firepower roll is big enough (which if often was, more luck for me).
Couple that with me finally drawing Asset Request cards to use the artillery I had brought in early in the game but never been able to use, and it was game over.
Jerry was in a position to run off the board, but he just couldn’t draw the cards.
He’s a great opponent and I loved playing against him. I hope he draws better cards in the October matchup.
This win puts me at 15-13 in the Ladder, a little breathing room for next month (which I will probably lose).
Next month, we play another Pacific scenario from the New Guinea battle pack.
If you liked this write-up, though, why not join us on the ladder and get your own games in?
We don’t bite.
Well, maybe your card draws will bite…but we don’t.
Then maybe we can get a game in!
See youi next month.
Combat Commander Ladder – After Action Reports
To see all of my Ladder After Action Reports since May 2021, go here!

Pingback: Combat Commander After Action Report – Scenario #33 – We Go! – Dude! Take Your Turn!
Pingback: Combat Commander After Action Report – Scenario #20 – A March in December – Dude! Take Your Turn!
Pingback: Combat Commander After Action Report Supplemental No. 2 – Scenario #92 – Let England Shake – Dude! Take Your Turn!
Pingback: Combat Commander After Action Report – Scenario #10 – Commando School – Dude! Take Your Turn!
Pingback: Combat Commander After Action Report Supplemental – Scenario #28 – No Ingouf Around – Dude! Take Your Turn!
Pingback: Combat Commander After Action Report – Scenario #105 – La Fiere Counterattack – Dude! Take Your Turn!
Pingback: Combat Commander After Action Report – Scenario LoM #8 – Codes in the Sunrise – Dude! Take Your Turn!
Pingback: Combat Commander After Action Report – Scenario #91 – The Battle of Trafalgar – Dude! Take Your Turn!
Pingback: Combat Commander After Action Report – Scenario #82 – Hidden Guns Lash Out – Dude! Take Your Turn!
Pingback: Combat Commander – After Action Report – Scenario E – West Tank Barrier – Dude! Take Your Turn!
Pingback: Combat Commander – After Action Report – Scenario #30 – Red Skies at Night – Dude! Take Your Turn!
Pingback: Combat Commander – After Action Report – Scenario 35 – Spartakovka Salient – Dude! Take Your Turn!
Very exciting! When the Japanese infiltrated to the southwest, I thought the ANZAC men might be doomed… but they held on tenaciously!
LikeLiked by 1 person
Yeah, Jerry didn’t try to eliminate them in melee, taking the objective. I was a bit surprised by that.
LikeLiked by 1 person
Pingback: Combat Commander – After Action Report – Scenario M10 – Bulolo River Bridge – Dude! Take Your Turn!
Pingback: Combat Commander After Action Report – Scenario #67 – The Orient Express – Dude! Take Your Turn!
Pingback: Combat Commander – After Action Report – Scenario M4 – Templeton’s Crossing – Dude! Take Your Turn!
Pingback: Combat Commander – After Action Report – Scenario 44 – Stalingrad of the North – Dude! Take Your Turn!
Pingback: Combat Commander – After Action Report – Scenario #41 – The Commissar House – Dude! Take Your Turn!